Rainwater Harvesting: Installation, Legality, and Uses
How to install a rainwater collection system — from simple rain barrels to underground cisterns — with US regulations, sizing, and practical use guidance.
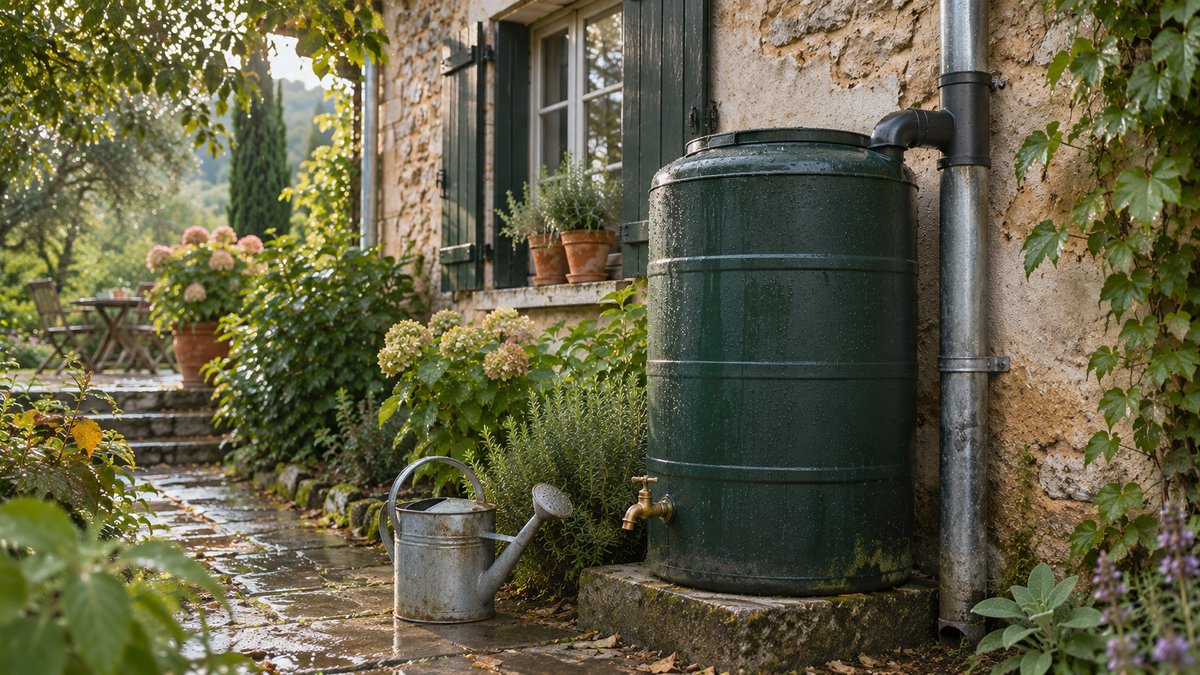
Rainwater harvesting ranges from a $50 plastic barrel at a downspout to a 10,000-gallon underground cistern supplying a home’s entire non-potable water needs. The same underlying logic applies at every scale: collect what falls on your roof, store it properly, and use it.
This guide covers the full range, from beginner setup to serious residential systems.
US Regulations: Know Before You Build
Rainwater harvesting regulations in the US have evolved significantly. Most states now permit or actively encourage it, but rules vary:
States with explicit legal permission for residential collection: Colorado (since 2016 — previously one of the most restrictive), California, Texas, Oregon, Washington, and most other states. Texas actively incentivizes rainwater harvesting with a sales tax exemption on equipment.
What most permits require:
- System must be used on the property where collected
- Potable use requires treatment to NSF standards
- Large systems (500+ gallons) may need permits in some municipalities
- Systems connected to municipal water supply require backflow prevention
Check: Your state’s DEQ (Department of Environmental Quality) or department of natural resources website, plus your local municipality. This takes 15 minutes and is worth doing before purchasing equipment.
How Much Can You Collect?
The formula: Gallons collected = Roof area (sq ft) × Rainfall (inches) × 0.623 × Collection efficiency
Collection efficiency is typically 80–90% (accounting for first-flush diversion and evaporation).
Examples:
- 1,500 sq ft roof, 20” annual rain, 85% efficiency = 15,900 gallons/year
- 2,000 sq ft roof, 40” annual rain, 85% efficiency = 42,300 gallons/year
- 1,000 sq ft roof, 10” annual rain, 85% efficiency = 5,300 gallons/year
US average rainfall by region:
- Pacific Northwest: 35–60 inches/year
- Southeast: 45–65 inches/year
- Midwest: 25–40 inches/year
- Southwest/arid West: 5–15 inches/year
- Northeast: 40–50 inches/year
Arid regions can still benefit from rainwater collection for garden use — they just need larger storage relative to collection area.
System Components
The Roof: Your Collection Surface
Your roof is your catchment area. Surface matters:
Metal roofing (corrugated, standing seam): Excellent. Minimal chemical leaching, easy to clean, durable. Best option for dedicated rainwater collection.
Asphalt shingles: Most common US roofing. Acceptable for irrigation and toilet flushing with first-flush diversion. Potential for some chemical leaching (polyaromatic hydrocarbons from asphalt). Not recommended for potable use without thorough treatment.
Concrete/clay tiles: Good. Minimal leaching.
Avoid: Roofs with lead flashing, roofs treated with biocides/moss killers, roofs near heavy industrial pollution.
First-Flush Diverter
The first flush of rainwater carries the most contaminants — bird droppings, dust, pollen, debris — that accumulated on the roof since the last rain. A first-flush diverter automatically routes the first 10–15 gallons of runoff (per 1,000 sq ft of roof) away from your storage tank.
This is a non-negotiable component for any serious rainwater system. It significantly improves water quality with minimal cost ($20–80 DIY, $50–150 for commercial units).
How it works: A small side chamber fills with the contaminated first flush and slowly drains away. Once full, subsequent rainfall flows into the main storage.
Gutters and Downspouts
Standard aluminum or copper gutters work. Keep them cleaned — debris in gutters becomes debris in your water. Install leaf guards to reduce debris entry. Copper gutters have some natural antimicrobial properties but cost significantly more.
Downspout connections should include a mesh screen to filter leaves and large debris before water enters the diverter or tank.
Storage Options
Above-ground rain barrels (50–500 gallons)
The entry-level option. Simple, inexpensive, DIY-installable in an afternoon.
Basic setup: Connect a downspout diverter to a food-grade barrel with a spigot near the bottom, an overflow port higher up, and a screened lid. Ready-made units cost $50–150. DIY from a food-grade 55-gallon drum: $10–30 for the drum (often available used from car washes, food processors) + $20–30 in fittings.
Limitations: 50–500 gallons is useful for garden supplementation but not meaningful household backup. During a dry week, a small garden can use 500 gallons in 2–3 days.
Linked barrel systems (500–2,000 gallons)
Connect multiple barrels in series with a linking hose at the same level, sharing an overflow outlet. 10 × 55-gallon barrels = 550 gallons for $200–500. Significantly more capacity without major infrastructure.
Above-ground tanks (500–10,000 gallons)
Purpose-built polyethylene tanks (Poly-Mart, Tank-Depot, Rain Harvesting Supplies). More expensive but economical per gallon at scale. Must be opaque (light causes algae growth) and food-grade.
Typical prices: 500 gallons ~$300, 2,500 gallons ~$900, 5,000 gallons ~$1,500. Installation is straightforward for experienced DIYers.
Underground cisterns (1,000–50,000+ gallons)
Best for large-scale storage, cold climates (frost protection), and aesthetics. Much higher installation cost due to excavation. Used by serious off-grid homesteads and rural properties.
Polyethylene and fiberglass cisterns are most common. Concrete cisterns are more durable but require professional installation.
Cost range: $1,500–10,000+ installed for 1,000–5,000 gallons, depending on tank material and excavation complexity.
Uses for Collected Rainwater
Garden and landscape irrigation (no treatment needed): Most outdoor plants are indifferent to untreated rainwater — it’s often better than municipal water because it’s free of chlorine and fluoride. Vegetable gardens, fruit trees, flower beds, lawns.
Outdoor cleaning (no treatment needed): Car washing, driveway cleaning, exterior window washing.
Toilet flushing (minimal treatment — sediment filter): Toilets account for 24–30% of indoor household water use. Even a first-flush diverter + 50-micron screen provides adequate quality for toilet use. This is legal in most states for new construction and many retrofit situations (check local code).
Laundry (sediment + carbon filter): Sand or cartridge filter removes particles; carbon filter removes chlorine-equivalent compounds. The resulting water is clean enough for laundry and extends washing machine life by reducing mineral buildup.
Potable use (full treatment required): Multi-stage filtration: 10-micron sediment pre-filter → 1-micron sediment filter → carbon filter → UV sterilizer. Add a reverse osmosis stage for the highest quality. This level of treatment produces water that meets EPA drinking water standards.
Sizing Your System
For garden irrigation: Calculate your peak garden water need (typically 1 inch per week = 0.6 gallons per sq ft per week for a vegetable garden). A 500 sq ft garden needs 300 gallons per week at peak. Size storage for 2–3 weeks between rains = 600–900 gallons minimum for drought resilience.
For partial household use: A family of 4 uses approximately 100 gallons/day for all indoor use. Even replacing toilet flushing only (25–30 gallons/day) makes a significant dent. For this application, 500–1,000 gallons of storage with a good roof catchment is a practical starting point.
For emergency backup: A 1-week supply for a family of 4 (non-potable use) = approximately 500 gallons. Add water purification capability for potable backup.
Basic Maintenance
Monthly: Check and clear debris from gutters and first-flush diverter. Inspect tanks for algae growth (tank should be opaque).
Twice yearly: Clean tank interior (brush with diluted bleach solution, then rinse thoroughly). Inspect all fittings, screens, and connections. Test overflow function by running water through the system.
Annually: Clean downspout filters. Inspect roof for new contamination sources (new lead flashing, chemical treatments).
Related guides:
More in this category



Rejoindre la communauté
Recevoir nos guides chaque semaine
Des conseils pratiques, des retours terrain, les meilleures ressources — directement dans votre boîte mail.
Rejoindre le Refuge →