Family Evacuation Plan: Preparing Before the Emergency Hits
How to create a concrete evacuation plan for your family — routes, meeting points, communication, and how to involve children — before you ever need it.
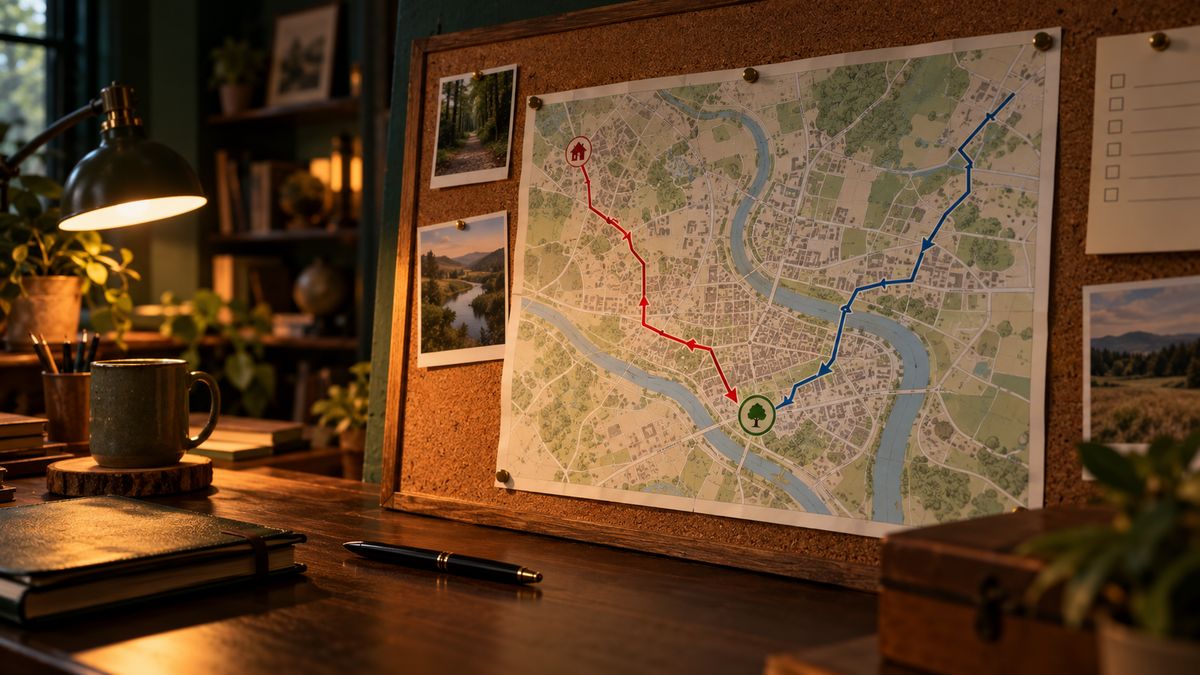
Emergencies happen fast. A wildfire evacuation order gives you 15 minutes. A gas leak means you leave immediately. A flood warning may give you a few hours, but roads congest quickly.
The families who evacuate safely are the ones who decided the important things before the emergency — not during it.
This guide walks through building a real evacuation plan, not a vague concept.
Step 1: Know Your Risks
Your evacuation plan should be built around the actual emergencies most likely to affect your area. The right plan for someone in coastal Florida looks very different from someone in the Missouri tornado belt or a California wildfire zone.
Common regional risks:
- Coastal and Gulf states: Hurricanes, storm surge, flooding
- Southeast: Tornadoes (shelter-in-place, not evacuation), flooding
- Midwest: Tornadoes, blizzards, flooding
- Pacific Coast: Earthquakes, tsunamis (coastal), wildfires
- Rocky Mountains / Southwest: Wildfires, flash flooding, winter storms
- Universal: House fires, gas leaks
Your local emergency management office (find it at ready.gov or search “[your county] emergency management”) publishes hazard assessments and evacuation zone maps for your area. Download or bookmark these.
Evacuation zones: Many coastal and flood-prone areas have official evacuation zones (Zone A, Zone B, etc. or Zone 1, Zone 2). Know your zone. Mandatory evacuations are called by zone — you’ll be told “Zone A evacuates immediately” before zones with less risk.
Step 2: Identify Your Meeting Points
You need meeting points because an emergency can scatter your family before you can communicate:
- A child is at school when a wildfire breaks out
- A parent is at work when a gas explosion affects the neighborhood
- Cell networks are overloaded
Three meeting points, progressively further from home:
Meeting Point 1 — Right outside your home: For sudden emergencies like house fires. Example: the mailbox, the neighbor’s driveway, the large tree at the corner. Everyone goes here first if an emergency happens while you’re all home.
Meeting Point 2 — Away from your immediate block: For situations where your home is inaccessible. A neighbor’s home 2–3 blocks away, a nearby community center, a church. Someone should always be home at this location, or have a key.
Meeting Point 3 — Out of neighborhood: For situations where your neighborhood is affected. A school, library, community center, or the home of a trusted person 1–2 miles away. This is also where you’d reunite if you’re returning to your area after evacuation.
Write down exact addresses (not just “the school” — the actual address for GPS).
Step 3: Choose an Out-of-Area Contact
Cell networks in an affected area are often overloaded — everyone is calling locally. An out-of-area contact (someone in another city or state) serves as a communication hub:
- Everyone in your family has this person’s number memorized or written down
- If you can’t reach each other directly, you each call or text this person
- They relay messages between family members
Choosing the contact: A reliable person outside your region who is reachable by phone and willing to serve this role. Brief them so they know what to expect and have your family members’ numbers.
Step 4: Know the Routes
For each of your three meeting points, know:
- Primary route
- Alternate route (if primary is blocked or congested)
For regional evacuations (hurricane, wildfire), identify at least two routes out of your area in different directions. Major evacuation routes are published by state emergency management offices — download these maps and keep a printed copy.
Traffic contraflow: During large evacuations, highway authorities sometimes reverse lanes (contraflow) to move traffic out faster. Know whether your likely routes use contraflow and what that looks like.
Fuel: Keep your car’s tank above half when severe weather is forecast. Gas stations run out during major evacuations. If you have a generator, keep extra fuel in approved containers (no more than you can safely store — check local ordinances).
Step 5: School and Childcare Plans
Children in school or daycare during an emergency create a specific challenge. Know your school’s plan:
- Reunification process: Schools have specific processes for releasing children during emergencies. Usually you must come in person with ID. Understand the process before you need it.
- Authorized pickup list: Who else can pick up your child if you can’t be reached? Keep this current with the school — it matters.
- If a school is evacuated: Schools typically relocate to a designated site (often another school or community center). Know your school’s designated relocation site.
What children should know:
- Their full name, home address, and phone number
- Their parents’ phone numbers
- The name of the out-of-area contact and that number
- What to do if they can’t reach a parent (go to school staff, call the out-of-area contact)
Step 6: Build the Go-Bag
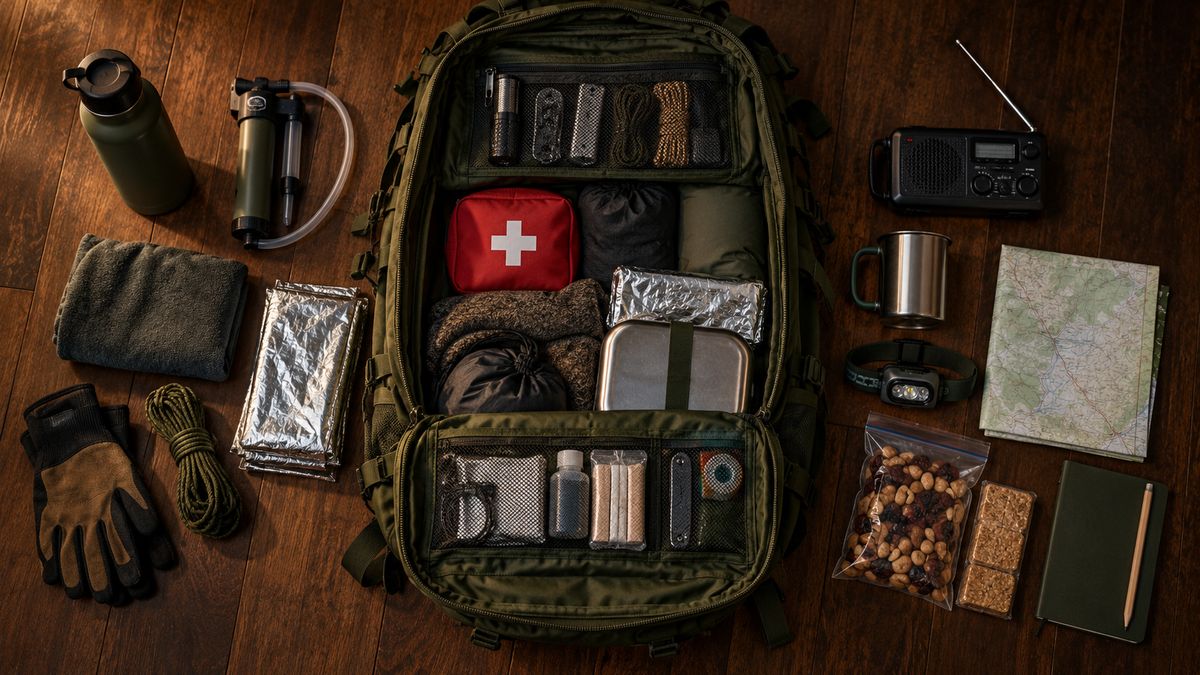
Your evacuation plan should specify exactly where the go-bags are and what’s in them. For a 72-hour evacuation:
Per person:
- Water: 1 liter minimum (more if you have space)
- Food: Non-perishable, no-cook items for 3 days
- Medications: Prescription medications for 2 weeks minimum
- Change of clothes, sturdy shoes
- Phone charger
- Cash ($100–200 in small bills)
- Important documents (copies of ID, insurance, medication list)
Household additions:
- First aid kit
- Flashlight + headlamp (one per person)
- Hand-crank or battery radio for emergency alerts
- Pet food, carrier, and vaccination records if you have pets
- Children’s specific items (formula, comfort item, medication)
Bags should be in a consistent, accessible location — a closet by the front door is classic. Everyone in the household should know where they are.
Step 7: Write It Down and Practice
A plan nobody remembers is no plan at all.
The plan document should include:
- Meeting Point 1, 2, and 3 (addresses)
- Primary and alternate evacuation routes
- Out-of-area contact name and all phone numbers
- School pickup plan and authorized pickup contacts
- Pet plan
- Special needs or medical information
- Local emergency notification systems to sign up for
- Local emergency management website/number
Format: Print it, laminate it, keep copies in:
- Each go-bag
- Each vehicle
- A trusted neighbor’s home
- Digitally on your phone (screenshots work fine)
Practice:
- Once a year, do a walkthrough: grab the bags, name the meeting points, dial the out-of-area contact (you don’t have to run out the door — just confirm everyone knows the drill)
- Include children in the walkthrough
- After any major life change, update and re-walkthrough
Pets
Pets slow evacuation because they need to be caught, crated, and transported. Build them into the plan specifically:
- Carriers ready and accessible: A cat that won’t go in a carrier under stress is a carrier you should practice using routinely
- Pet go-bag: Food (3 days), water, bowls, leash, collar with ID tag, vaccination records (required for shelters and boarding facilities)
- Pet-friendly shelters: Know which emergency shelters in your area accept pets. Many don’t — which means knowing a pet-friendly motel along your evacuation route
Leave early with pets: Evacuating before the rush with pets is much easier than trying to catch a terrified animal when sirens are going.
Special Needs and Medical Dependencies
If anyone in your household:
- Uses power-dependent medical equipment (CPAP, oxygen, dialysis)
- Has severe allergies (EpiPen must be with them)
- Has mobility limitations
- Has cognitive or behavioral needs that affect emergency response
Build their specific needs explicitly into the plan. Consider:
- Pre-registering with your local emergency management office’s special needs registry
- Having a written emergency medical information card to hand to first responders
- Identifying 2–3 people outside the household who can help if needed
Related guides:
More in this category


Rejoindre la communauté
Recevoir nos guides chaque semaine
Des conseils pratiques, des retours terrain, les meilleures ressources — directement dans votre boîte mail.
Rejoindre le Refuge →